Tutorial: How to Print with a Photographic Enlarger
8 17 Share TweetIn my opinion, the real photographic process does not end with the development of the film. To get to the essence of analogue photography, you have to try to print on photographic paper your films!
In this tutorial, I'll explain how to print your favorite photos with an enlarger. These instructions are for printing on black and white photo paper. Of course, you can also print your color negatives, but they will appear in black and white. Remember, that B&W papers are not sensitive to all shades of color, you might get strange results when attempting to print color negatives on them.

List of Accessories You Need To Print
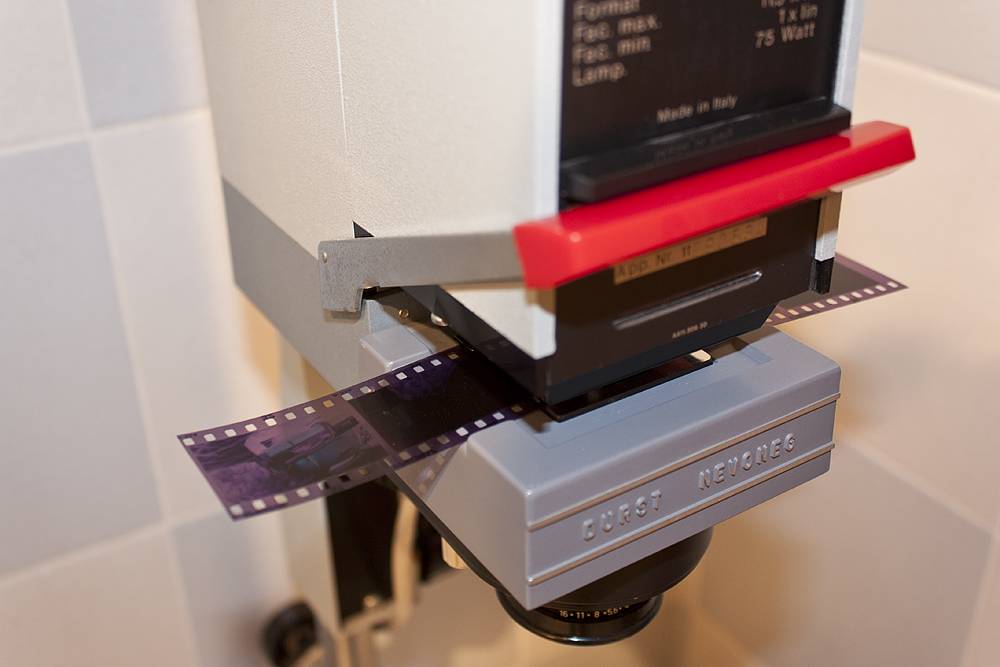
- Photographic enlarger (I have an old Durst M301)
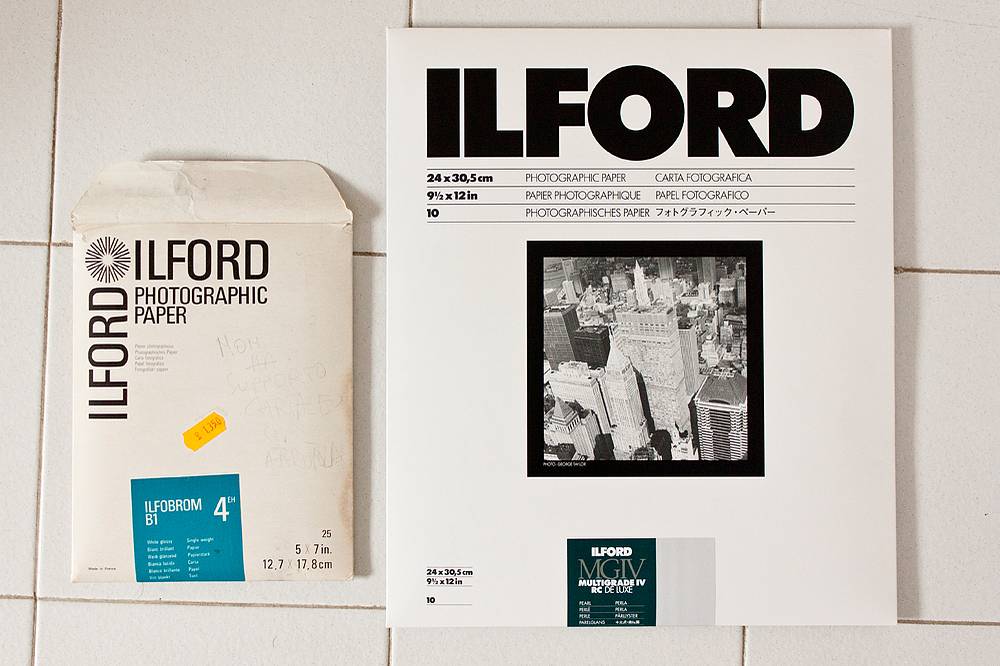
- Photographic Paper (for starters, I recommend a variable contrast such as Ilford Multigrade 4. I took the version pearl/semi-opaque)
- Multigrade contrast filters
- Chemical solutions for development, stopping and fixing. To stop may actually be enough water (to develop I use ILFORD PQ Universal, and Ilford Rapid Fixer to fix)
- 3 bowls to soak the paper in various stages of development
- Clamps for handling the paper (you should not dip your fingers in acid!)
- Thermometer to measure the temperature of the acid
- Scoops graduated to mix chemicals
- Red lamp for darkroom
- A large bowl with water for wash the papers at the end of the process
- Of course, a dark room! Or a dark bathroom in my case.
This accessory is not essential but very useful: Focus Scope, which is like a microscope that allows you to focus the projected image with great precision. You can see the grain of the film and you have to focus on those grains.


Mixing Your Chemicals
Follow the instructions written on the packaging. The temperature of the solutions must be 20 degrees. 1 or 2 degrees difference can fit without making a mess. In my case: mix 1 +9, ie if you need 1 liter of composition you put 100ml of acid and 900ml of water. Do the same thing for the fixer: 1 +4, 200 ml of fixer and 800ml of water. If you are using small papers, half a liter of the solution may be enough.
Place three bowls in order: development, stop, fix. Fill the bowls with their solutions. To stop I just use water, but you could use diluted acetic acid.
Place the Negative in the Enlarger Head: Remember that the image will be projected upside down, so you have to invert your negatives when mounting them.
Focus the Projected Image: Place a sheet of paper of the same size of the final printing sheet on the surface of the enlarger. Turn on the enlarger and adjust the height so that the projected image covering the whole area of the sheet. Using the knob near the head of the enlarger, try to focus the image. If you have one, use the Focus Scope to focus on the film grain. You only need to put the instrument on the projection plane at the center and examine the image.


Set the Aperture and Insert the Multigrade Filter: Close the aperture to f / 8 to increase detail. In the filter holder of the enlarger head insert a Multigrade n2 filter. This filter produces a good range of print tones with an average negative.


Exposing a Test Print: Turn off the light, turn on the red safety lamp. You have to sacrifice a sheet of photo paper for testing exposure. Extract one sheet (always in the dark or red light) and cut a strip of sufficient size to cover an area of the image that has the relevant details to find the correct exposure.
- Place the paper strip with the sensitive part upwards on the projection plane
- Turn on the projector light for 2 seconds using the timer connected exposing the entire strip
- Cover with a matte card one-fifth of the paper and expose the rest for another 2 seconds
- Cover 2/5 and expose for 4 seconds
- Cover 3/5 expose for 8 seconds
- Cover 4/5 expose for 12 seconds
Developing the Test Print
Always with the red light on:
- Dip the test strip into the development bath. Start the timer for 60 seconds. Shake the basin gently to ensure that the solution covers the entire image.
- After 60 seconds, remove rapidly the strip from the development and dip it into the stopping bath for about 30 seconds while stirring.
- Last step, dip the strip into the fix bath for another 30 seconds.
- At the end, you put the paper in another tray with a good flow of water to wash for 1 to 2 minutes.
Now examine the test you just did. You can turn on the lights now. The paper will present 5 strips with different exposures. The lightest was exposed for 2 seconds, the second by 4. The third for 8 seconds (2 +2 +4), the fourth for 16s (2 +2 +4 +8), the last for 28s (2 +2 +4 +8 +12).
Make a note of the time and the aperture used. One of these strips should give you a correct exposure. If they are all too light, open the aperture by two stops or increase time. If they are all too dark, close the aperture by one stop and repeat the test. You'll get an image like this:


There are also graduated filters to be positioned on the sheet to do this test. In this case, you will get a test like this:

Making the Final Print
When you finally determine the correct exposure time, put a new sheet of photographic paper under the enlarger and expose. Repeat step 6 to develop the final print.

Contrast Correction
If you think that your photo is not well balanced in contrast, you could place contrast filters in your enlarger. If your print looks too gray and lacks either solid black shadows or clean white highlight (or both), try putting a Multigrade 3 filter or higher. At this point, repeat step 5 to make another test. If you have too much contrast, use a Multigrade filter 1 instead.
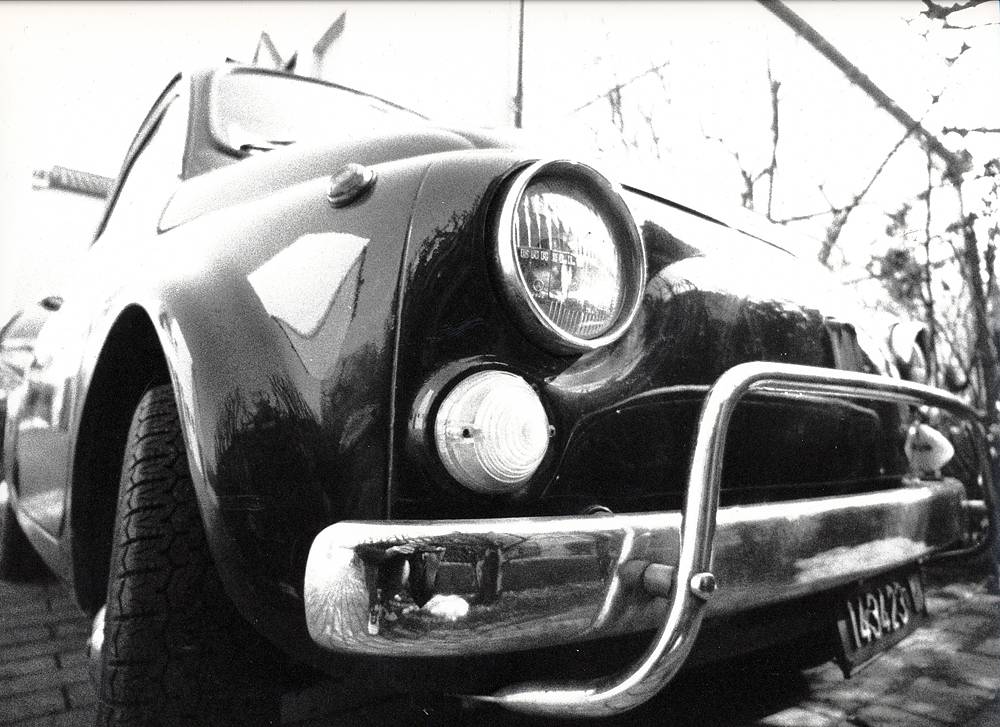
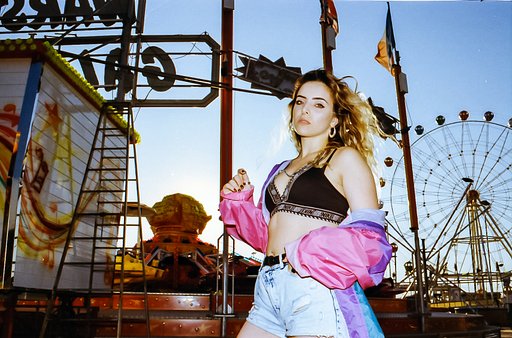
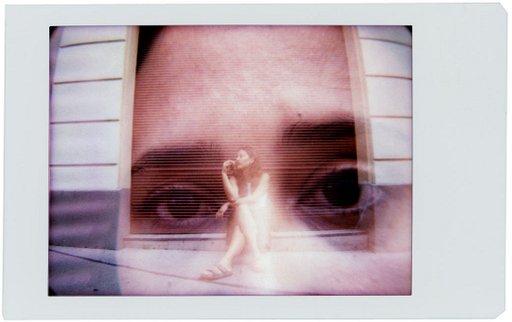
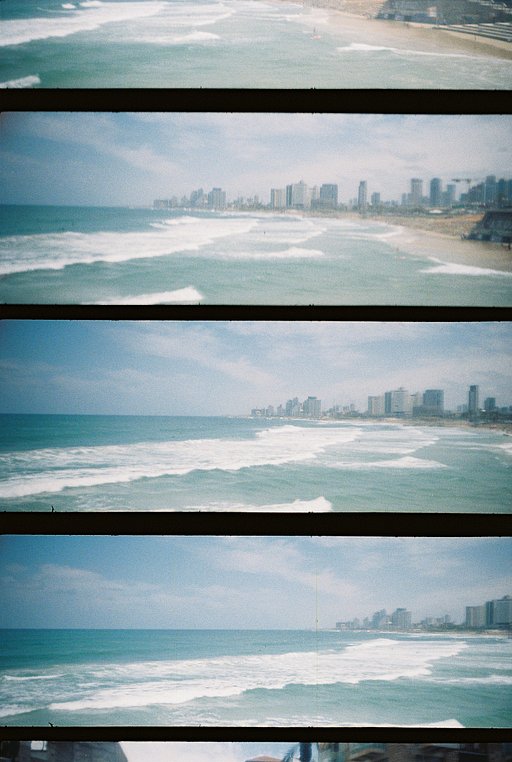
That's it! Try it and enjoy! I leave you with some of my photos printed with this technique:


written by gionnired on 2013-04-15 #gear #tutorials #tutorial #tipster #development #black-white #print #enlarger #photographic-paper #select-type-of-tipster #select-what-this-tipster-is-about #gionnired


8 Comments