How To Take Double-Exposures Using Images from Your Computer
24 10 Share TweetFor all of you double-exposure lovers, here is a brand new way to shoot! To create funky photos anytime and anyplace, just grab your computer and a camera.

This is an extremely easy way to take your favorite images and add them to your favorite photos. What you’re going to need: Microsoft Word or PowerPoint (I recommend PowerPoint), Keynote or Pages (or any type of program similar), and completely white images.
1. Open PowerPoint (or your program) and automatically turn all of the slides background color to BLACK. This way when you’re shooting your first layer of the double-exposure, the only thing that will show up on your ending result is your white image.
2. Find a 100% WHITE IMAGE on the internet. Drag it onto your first slide and position it anywhere you’d like. The image cannot have a solid colored background – instead, it needs to be “clear.” I have not yet tried using colored images because I’m not sure how well they will turn out in the ending photos. But you never know… you learn new things every day!
3. After you’ve created all your slides with the images that you’d like placed on them, view the PowerPoint as a fullscreen slideshow. Scroll through the slideshow once to double-check and make sure your images are placed properly.
4. Take a photo of each slide while on your camera’s double-exposure setting (and viewing the slides in the fullscreen slideshow). Make sure that the only thing that you’re taking a photo of is the computer screen, because you don’t want anything behind your computer to be in the photo. Depending on your camera type, the order in which you’ll have to take the photos in will vary – you may have to take the photo of your computer screen first and then go outside and take your second layer photo, or you may have to just take all of the computer photos first and just rewind your film before shooting your second layer. Make sure that your flash is off so the glare from the screen won’t show.
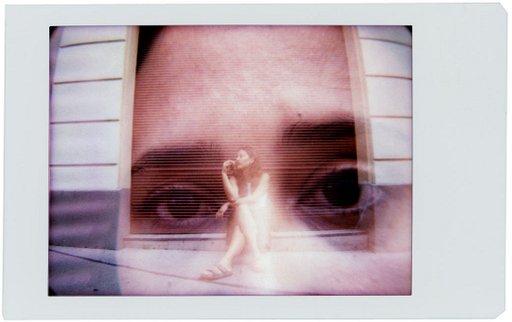
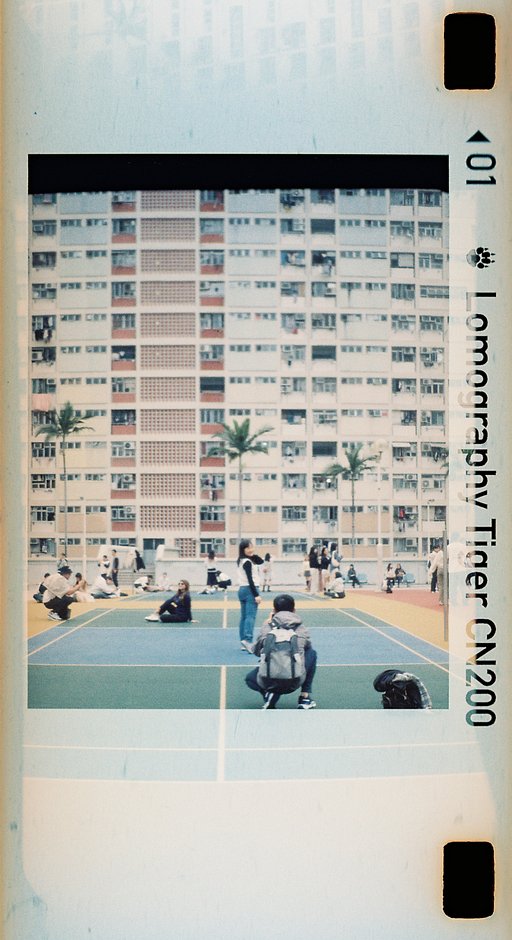
5. If you haven’t done yet so, rewind your film and get shooting your second layer! It doesn’t matter if you don’t remember which photo had which image on it – film photography is all about surprises! I recommend using black and white film just because it will make your white images pop more.
6. Get your photos developed or scan them. Tada! Your masterpieces are finished. Smile, laugh, and enjoy your adorably funky, original, and cute new double-exposure photos!


written by amandaglass on 2012-04-02 #gear #tutorials #film #camera #computer #text #tipster #double-exposure #images


23 Comments